Reverse a Video in CapCut: Easy Guide for PC & Mobile
In this fast paced world, where everyone shows their interest in simple but high-quality content, similarly, the videos get a boost after rewinding them. You can reverse a video in CapCut pro to make it so elegant, professional, or to provide an artistic look. It is straightforward and doesn’t require any learning curve, except a few taps of your fingers. I’ve experienced this super easy task that reverses my whole video content within a few seconds.
I’m sharing reviews with a complete guide about reversing the video in CapCut that will not only add uniqueness but also boost the engagement of your account on social media. I’m trying the following methods on all devices, including Android, PC and macOS.
Why is it Necessary To Reverse a Video in CapCut?
You must be looking for the reasons to reverse the video in CapCut. I’ve a detailed guide about this feature of CapCut:
Formats Compatibility
CapCut is an instant source to reverse the audio due to its wide format compatibility. I’ve uploaded the video in MOV and MP4 formats and chose the option to reverse the video, and it has reversed my whole video in a few seconds.
Quick Reversal
CapCut’s video reversal feature saves your time and effort due to its quick reversible feature. I don’t put much effort into reversing the content, but I put a great focus on other editing features to enhance the video quality.
Mirroring or Freezing
I was shocked when I tried the freezing feature of the Caput, as it has made my day. I can mirror my footage to create eye-catching moments in the videos.
Trimming Tool
I made the reversal process of my videos so precise by using the trimming tool. It does the perfect framing of my content, making the editing more unique without cutting the essential video scenes.
Keyframe Animations
If your video lacks something in visuals, then you can enhance it using the keyframe animations. I find my video more polished or smoother after applying these animations.
Steps To Reverse a Video in CapCut On Android
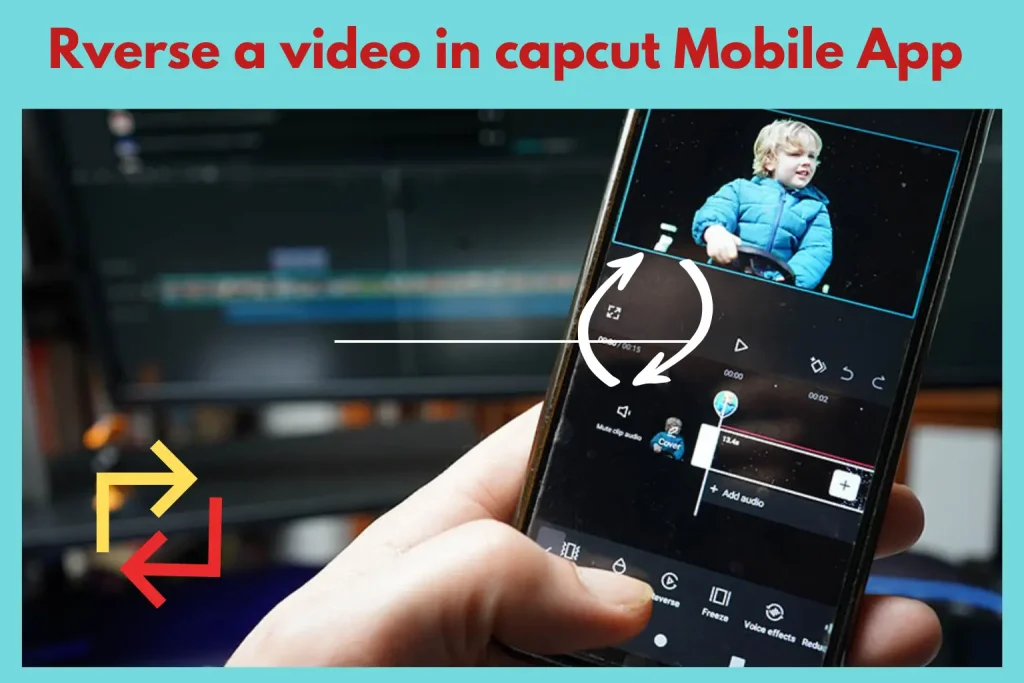
CapCut is an Android app developed by Bytedance for Android users, so first, I’ll provide details on how to reverse a video in CapCut on mobile using CapCut:

Step 1: Download “CapCut MOD APK” from our site and open the app or click on the option of “New Project”.
Step 2: Import the video from the gallery and search for the Reverse option from the CapCut main menu.
Step 3: Click on the reverse option, and it will reverse your whole video content in no time.
Step 4: Do more edits of your choice and then export the video in HD quality.
Steps To Reverse a Video in CapCut On PC
CapCut is widely compatible across multiple devices, so that you can run the app on the web, Windows 10/11, or PC:

Step 1: Download the “CapCut MOD APK for PC” using the Android Emulator.
Step 2: Open the app and click on the edit page to edit the video. Choose the presets or create a black Canvas.
Step 3: Start uploading the content you want to edit from your device storage.
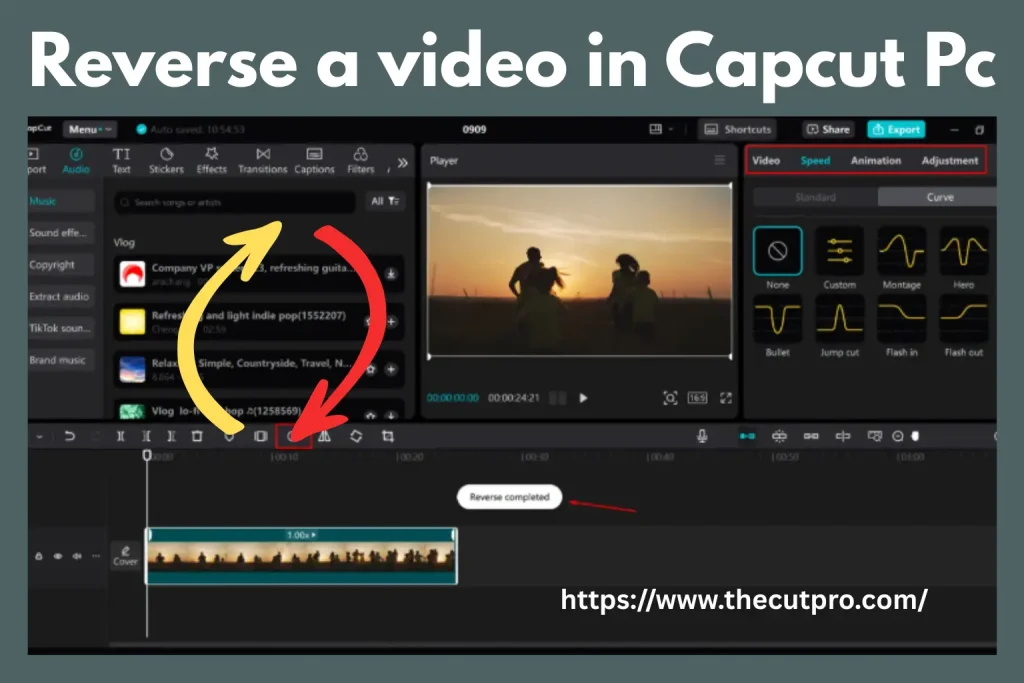
Step 4: Put the video on the timeline, and then the edit options will appear.
Step 5: Choose the reverse option, and it will start creating the background effect. Do further edits of your choice, and after finalisation, choose an export option for video.
How To Add Forward or Reverse Effect in CapCut?
As a content creator, it made me curious about how people use the forward or reverse effect, and then I got the CapCut that has resolved all my curiosities. Here is how I applied these effects in my videos to make them unique:
Troubleshooting Steps To Reverse a Video in CapCut
Sometimes, people encounter an issue while reversing the video in CapCut, but I’ve explored the solution to troubleshoot this issue:
Benefits Of Reverse a Video in CapCut
Applying the reverse effect in CapCut has some key benefits, but I want to draw your attention to the major ones.
Stunning Visuals: First and foremost, the benefit of reversing the video is to provide amazing visuals to your editing content. Reversing the content changes the whole scenario, making it more engaging.
Storytelling Techniques: CapCut is not only helpful for creating videos for TikTok, but you can also generate storytelling videos using its reverse non-linear technique.
Transitions or Effects: Reversing the video is not only to turn the scenes from end to start, but you can also do transitions between various scenes to provide a more captivating look.
Social Media Content: The competition is getting high, so the increasing demand for quality content on YouTube, TikTok, or Instagram has shifted people’s interest to reverse videos. It will increase the reach of the account and make your content more engaging and shareable.
Social Media Content: The competition is getting high, so the increasing demand for quality content on YouTube, TikTok, or Instagram has shifted people’s interest to reverse videos. It will increase the reach of the account and make your content more engaging and shareable.
Conclusion
Ultimately, reversing a video in CapCut is an effective and creative way, and I’ve never found any hurdle while applying these effects using CapCut on mobile or PC. You can easily split your clips and use these effects by scrolling through the category of advanced editing tools. These features are increasing the reach of my accounts, constantly engaging the new users towards my social media handles.
Do a lot of customisations to flip your videos backwards to enhance their visual appearance. Don’t forget to trim your videos, apply the keyframe animations, or a simple touch of numerous filters or effects.
You can visit other amazing template: CapCut vs DaVinci Resolve


